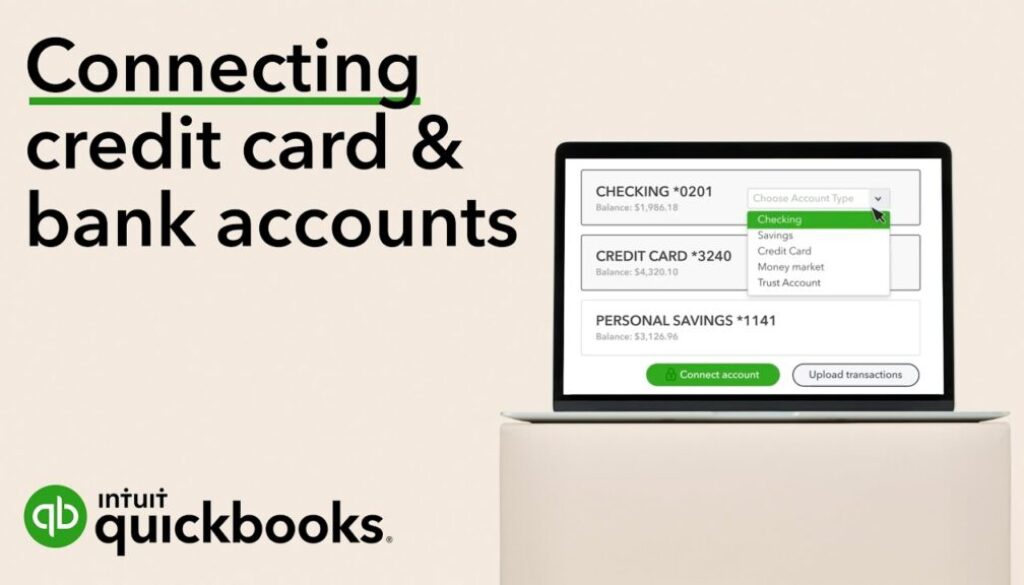
Connect bank and credit card accounts to QuickBooks Online
Connect bank and credit card accounts to QuickBooks Online
Learn how to add your bank and credit card accounts to automatically download recent transactions.
Online Banking (also known as Bank Feeds) is one of QuickBooks Online’s most helpful and time-saving features. When you connect an account, QuickBooks automatically downloads and categorizes bank and credit card transactions for you. It enters the details, so you don’t have to enter transactions manually. All you have to do is approve the work. Here’s how to connect your accounts and get started.
Step 1: Connect a bank or credit card account
You can connect as many accounts as you need. Feel free to connect accounts you use for both business and personal, but you’ll need to sort out personal transactions as you go.
Note: Follow these steps if you need to connect American Express Business card.
- Go to the Banking menu or Transactions menu.
- Select the Banking tab.
- Select Connect Account on the landing page if this is your first time connecting. Or select Add account or Link account if you’ve already created one.
- Search for your bank. You can connect most banks, even small credit unions.
- Select Continue. Enter the username and password you use for your bank’s website in the window.
- Follow the onscreen steps to connect. Your bank may require additional security checks. It may take a few minutes to connect.
- Select the bank or credit card accounts you want to connect (savings, checking, or credit card). You should see all of your available accounts at your bank or credit card company.
- For each account you connect, select the matching account type from the dropdowns. These are accounts on your chart of accounts in QuickBooks.
- Select how far back you want to download transactions. Some banks let you download the last 90 days of transactions. Others can go back as far as 24 months.
- Select Connect.

Tip: If you can’t find your bank but still want to add your transactions to QuickBooks Online, you can also manually upload bank transactions.
Don’t see your account? If you’re new to QuickBooks Online or don’t see the right account in the dropdown, select + Add New. This creates a new account on your chart of accounts.
- Create a new bank account: Select Bank for the Account type. Select Savings or Checking for the Detail type. Give the account a name and then select Save and close.
- Create a new credit card account: Select Credit card for the Account type. Give the account a name and then select Save and close.
Step 2: Download recent transactions
Now your accounts are connected. QuickBooks automatically downloads transactions, so you don’t have to enter them manually. To refresh and get the latest transactions:
- Go to the Banking menu or Transactions menu.
- Select the Banking tab.
- Select Update.
Step 3: Categorize downloaded transactions
After QuickBooks downloads transactions, you need to approve the way it categorized them. Here’s how to review and categorizing downloaded transactions.
Step 4: Update your connected accounts
To update your bank or credit card info, like your username or password, or refresh the connection:
- Go to the Banking menu or Transactions menu.
- Select the Banking tab.
- Select the Edit ✎ icon in the tile for the bank account you want to update.
- Select Edit sign-in info.
- Update your account info.
- Select Save and connect.
This is also where you can disconnect accounts from online banking. Disconnecting doesn’t delete accounts or downloaded transactions. It just stops QuickBooks from downloading new transactions.
If you have problems downloading or see errors, here’s how to fix them.
Discover more from My Business Web Space
Subscribe to get the latest posts sent to your email.

