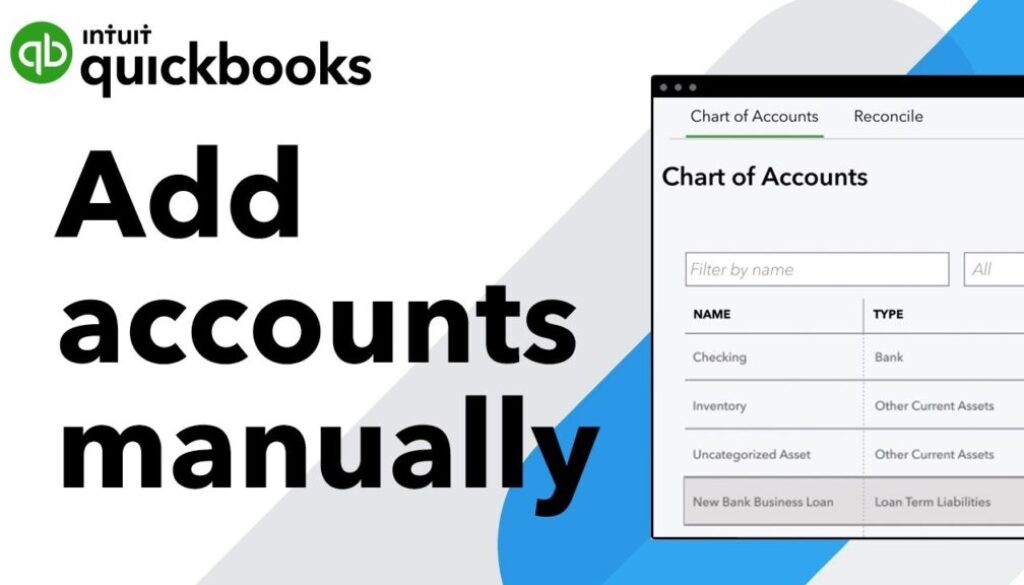
Add an account to your chart of accounts in QuickBooks Online
Add an account to your chart of accounts in QuickBooks Online
Learn how to set up and add accounts to your chart of accounts.
The chart of accounts is a list of all your accounts in QuickBooks. When you create your company file, QuickBooks automatically customizes your chart of accounts based on your industry.
- Product on sale
 QuickBooks Online SubscriptionFrom: $27.00 / month
You can add more accounts any time you need to track other types of transactions. Here’s how to add more accounts to your chart of accounts.
Add a new account to your chart of accounts
- Go to Settings ⚙ and select Chart of Accounts.
- Select New to create a new account.
- In the Account Type ▼ dropdown, choose an account type.
- In the Detail Type, select the detail type that best fits the transactions you want to track. Learn more about detail types.
- Give your new account a name. Tip: Use the detail type description to create a name that describes what you’re tracking.
- Add a description.
- If this is a sub-account of an existing account, select Is sub-account and then enter the parent account. Learn more about parent accounts and subaccounts.
- Now let’s make sure the account in QuickBooks matches your real-life bank or credit card account. Choose when you want to start tracking your finances. In the Balance field, enter the amount in the account, and determine the as of date. Enter today’s date if you want to start tracking immediately. In the When do you want to start tracking your finances ▼ dropdown, choose when you want to start tracking the transactions:
- When you’re done, select Save and Close.
Select Today to start tracking transactions as of today. In the Account Balance field, enter the balance of the account for today.
Select Other to pick a specific date to start tracking transactions. In the Select a date field, choose the date you want to start tracking transactions for the account in QuickBooks. In the Account Balance field, enter the balance of the account for the date you pick.
- Product on sale
 QuickBooks Online SubscriptionFrom: $27.00 / month
